1. Project Type – Update a Custom Report Template
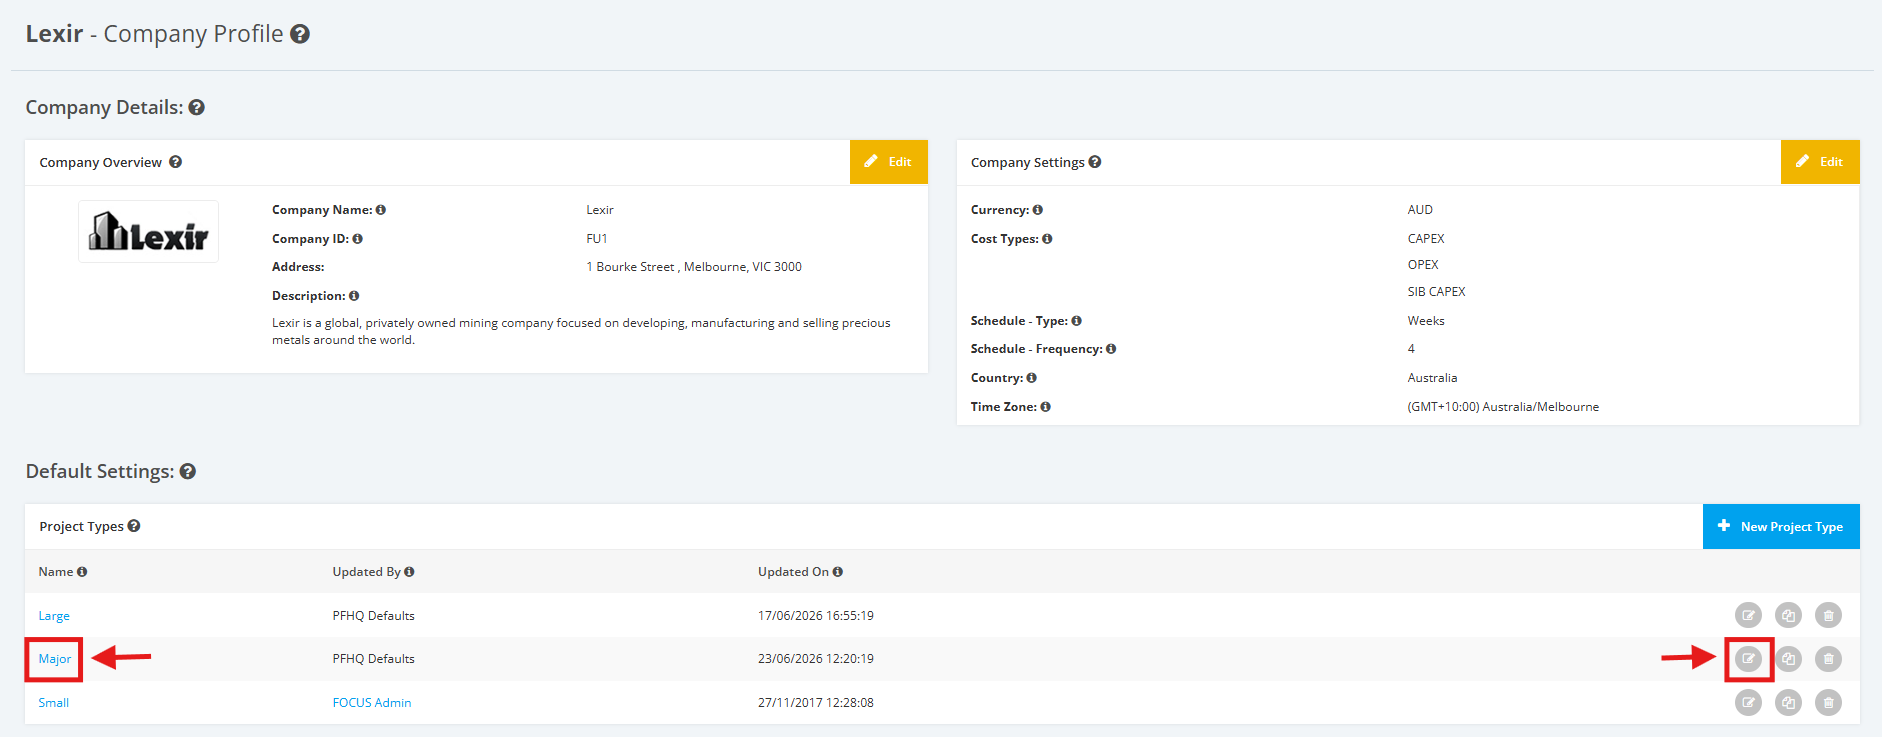
1. Within the Company Profile, navigate to the ‘Default Settings’ section then ‘Project Types’. Click the ‘Edit’ icon or the name of the Project Type.
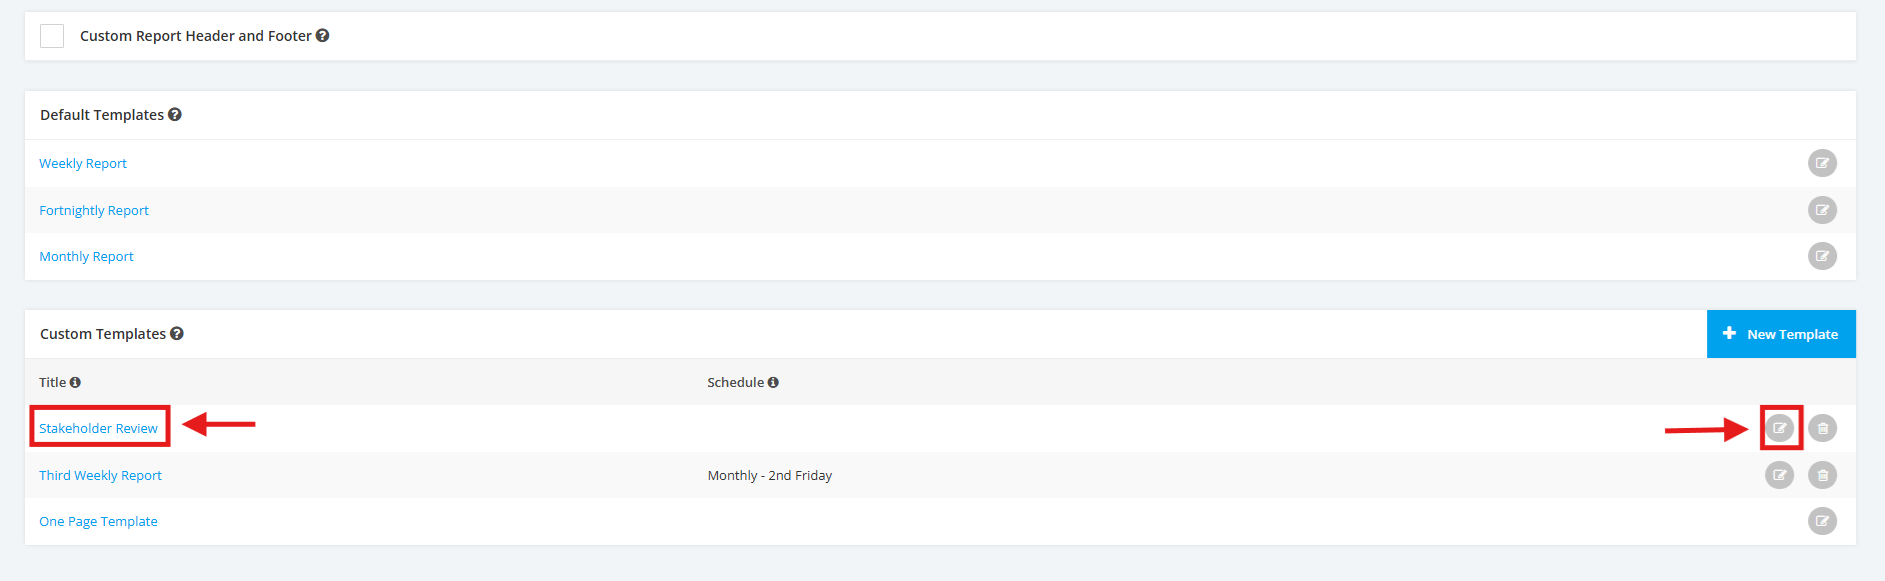
2. On the Project Type Settings page, scroll to the ‘Report Templates’ section then ‘Custom Templates’. Click the ‘Edit’ icon or the Name of the Custom Report Template.
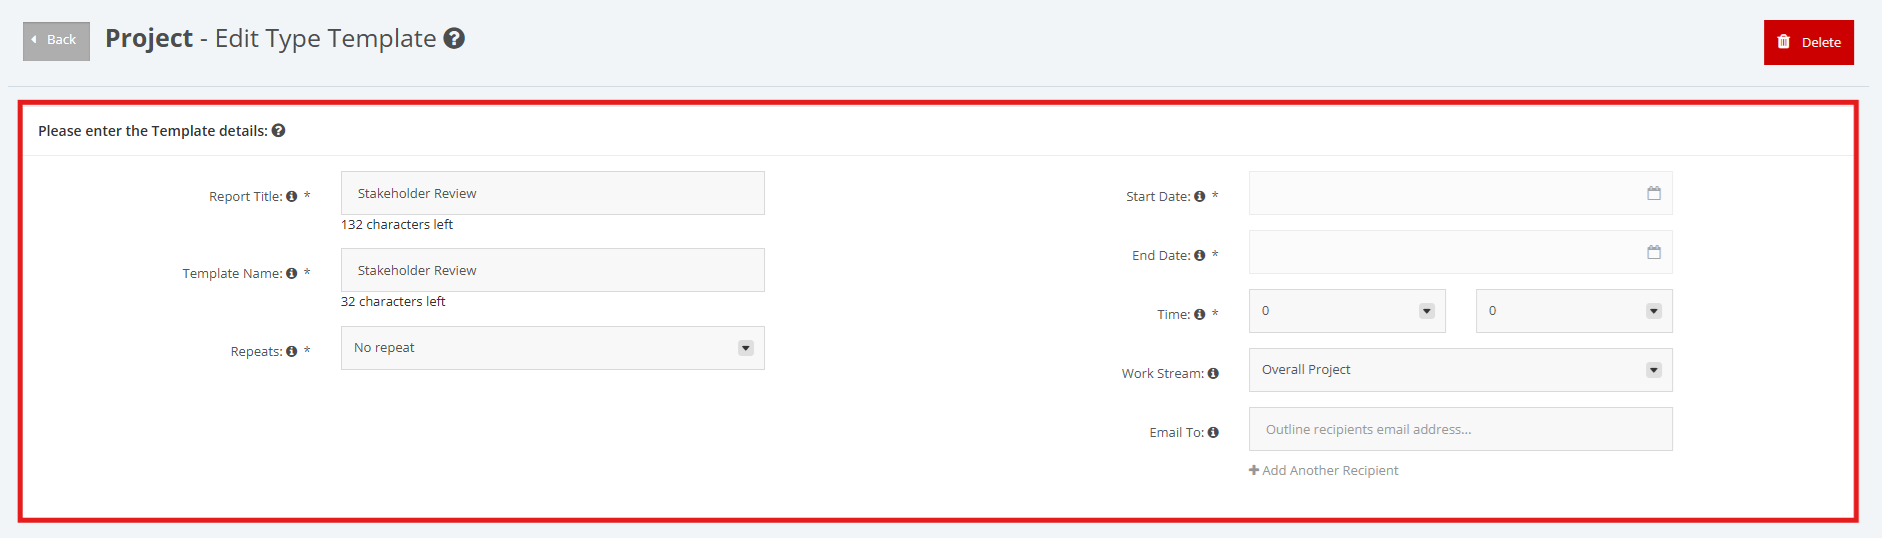
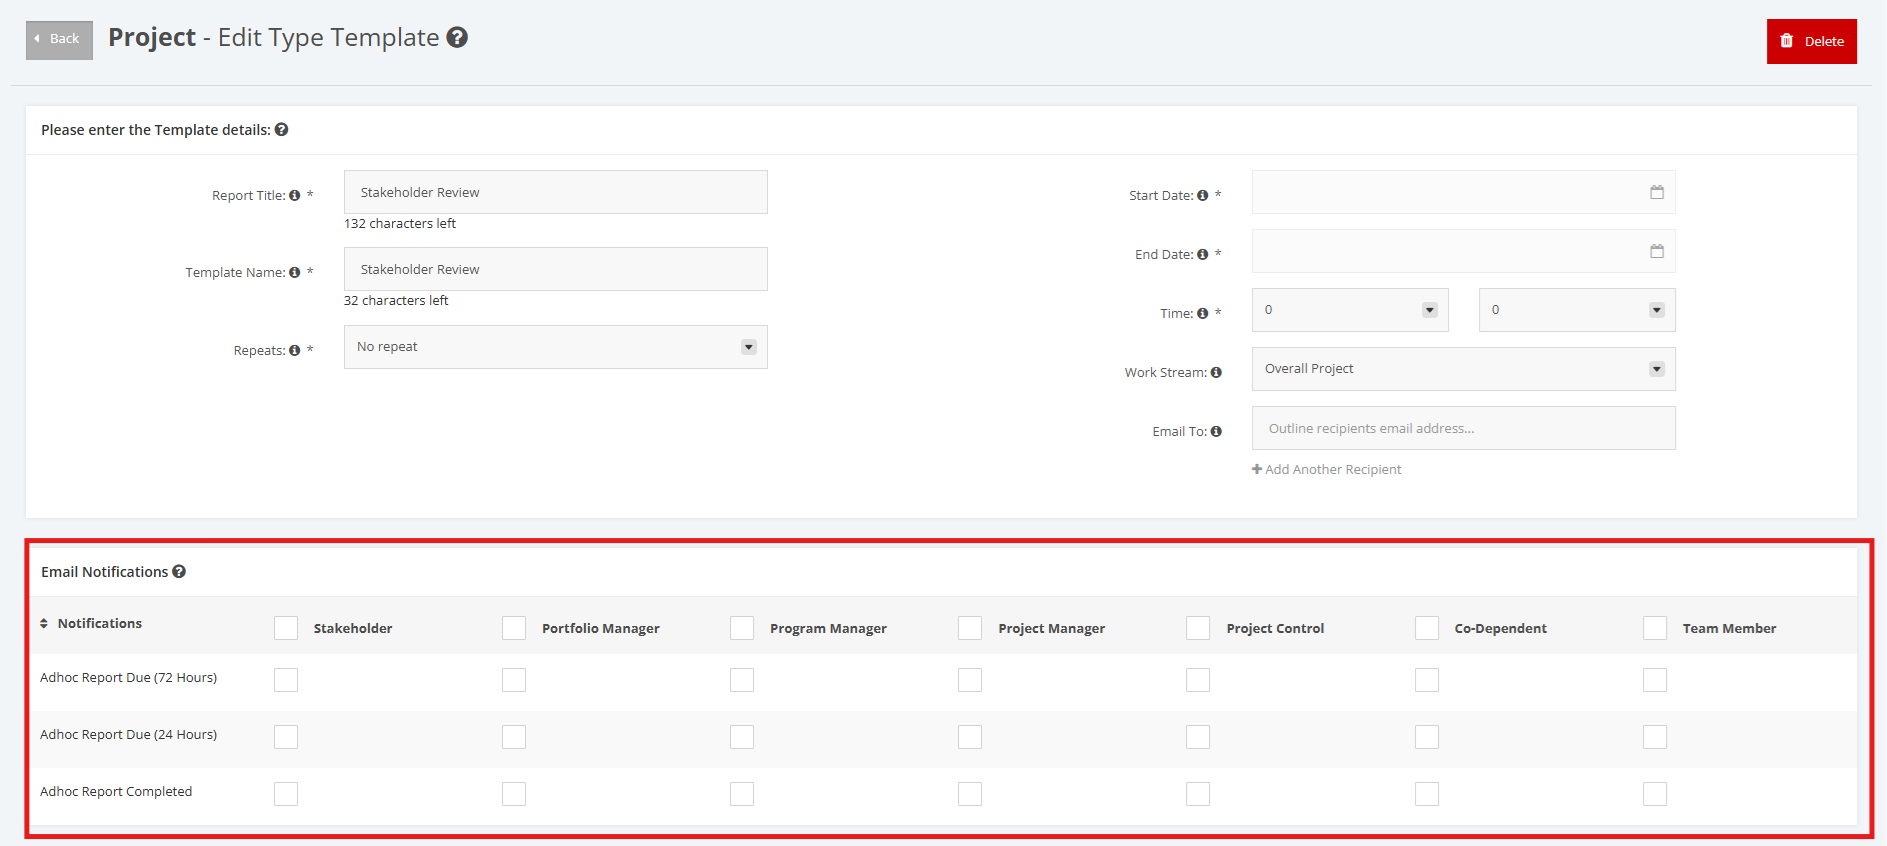
3. Apply the necessary changes in the Template Details form with the following fields: ‘Report Title’, ‘Template Name’, ‘Repeats’, ‘Start Date’, ‘End Date’, ‘Time’, ‘Work Stream’ and ‘Email To’
Template details contain sections of the Project that you wanted to be displayed on the Report. It is important to add any piece that helps further explain the report or adds additional context.
4. Once Template details are complete, scroll to the ‘Email Notifications’ section. Tick/untick checkboxes to enable/disable sending of Report Notifications (per Key Role).
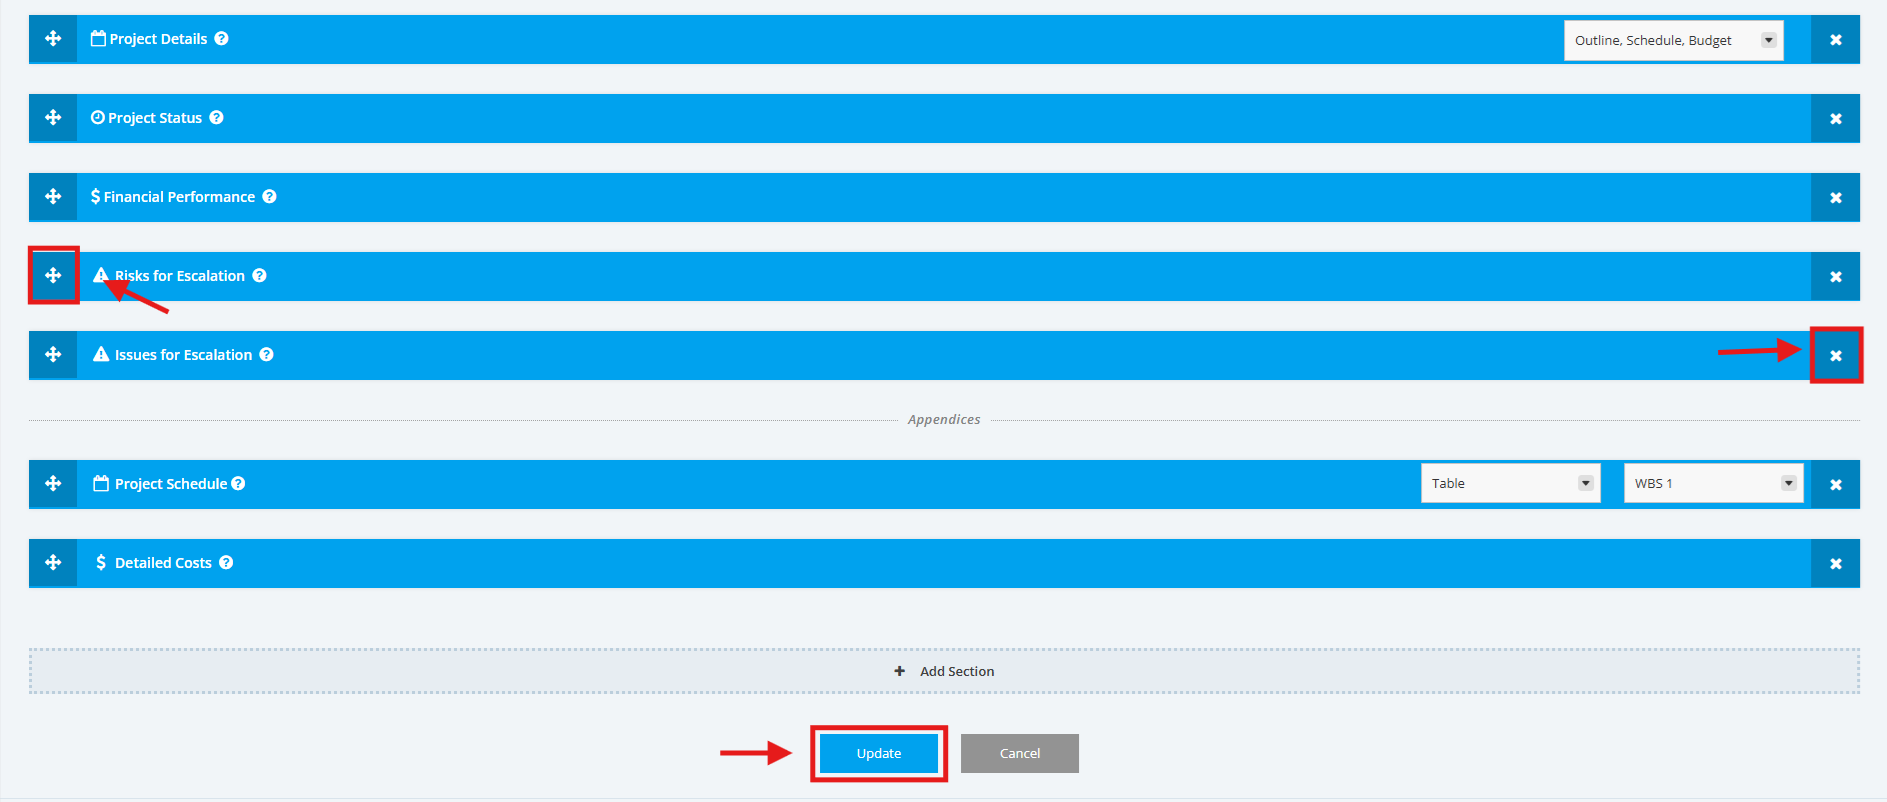
5. Add more elements in the Custom Report Template by clicking the ‘+ Add Section’ link. Once done, click the desired elements within the Modules or Appendices section.
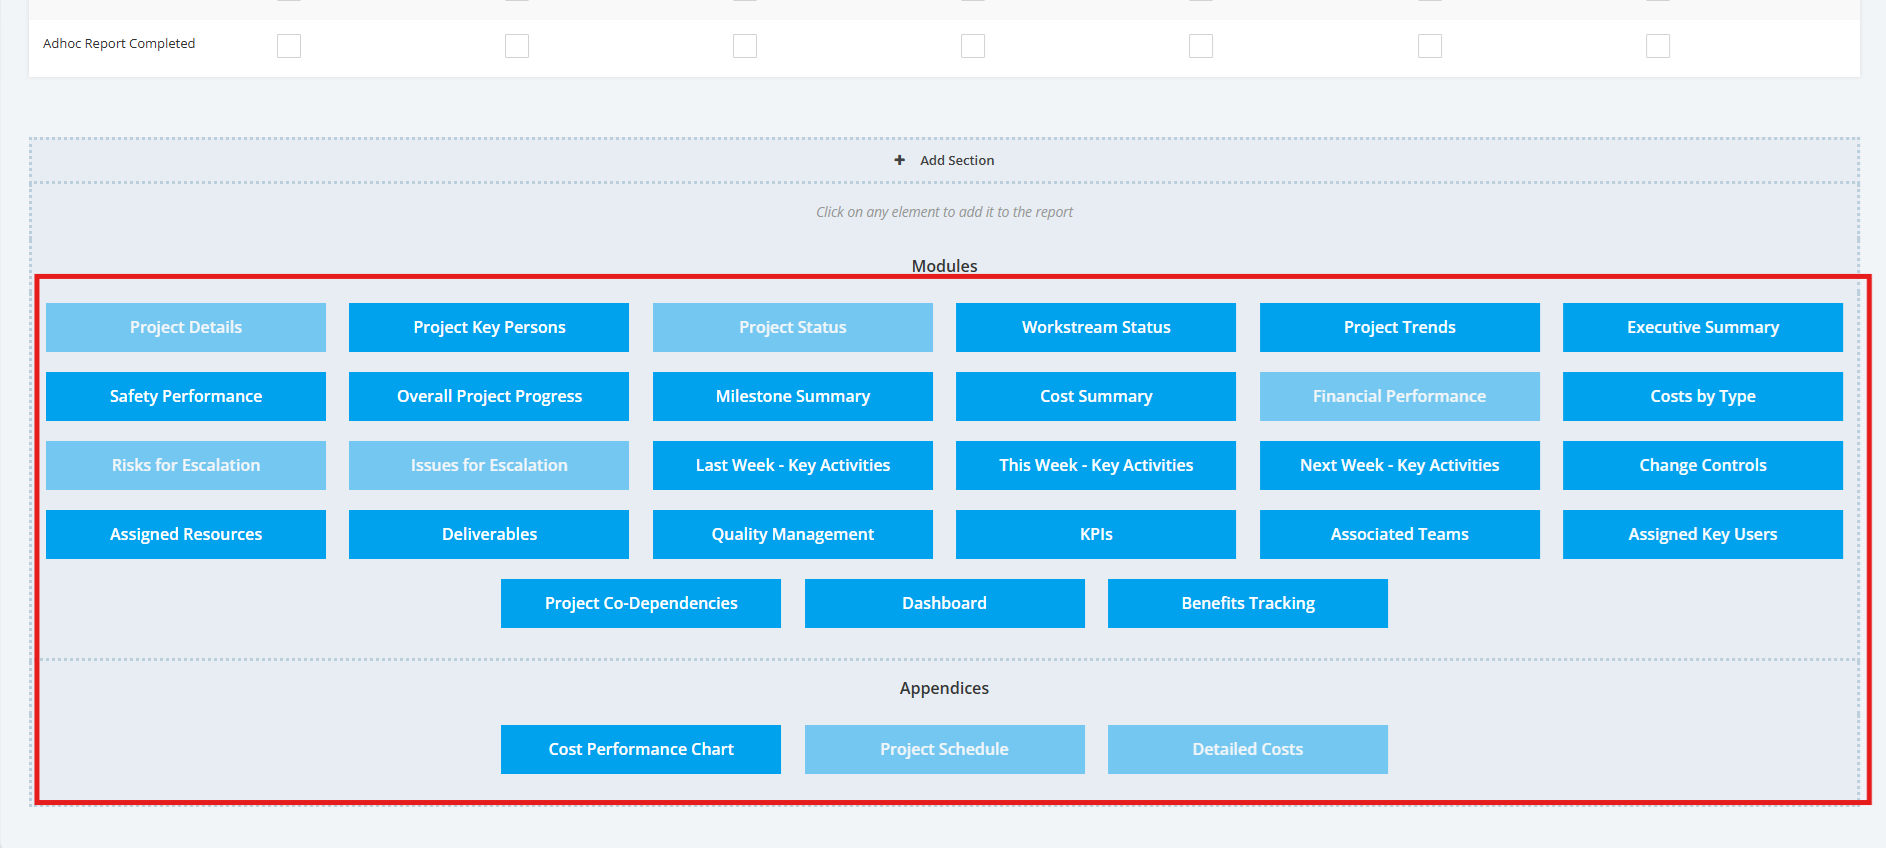
6. To remove a module, click the ‘x’ icon. You can also click the ‘+’ Drag and Drop icon to arrange the elements.
Then once done, click the ‘Update’ button to save the template.